
There is an easier way to get your industrial ducting installed - one that saves you both time and money.
We know how important efficiency and cost savings is when installing systems, and we sell components that can be a game-changer for the way these systems are typically installed. Strut Duct Hangers are a time saver that are under-utilized, and they can significantly reduce the installation time of your entire project.
Assembly is as simple as
1. Slip the notched part of each half of the strut hanger into the channel on each side of the duct.
2. Insert the bolt and nut above the duct and tighten to secure the duct to the clamp.

Done.
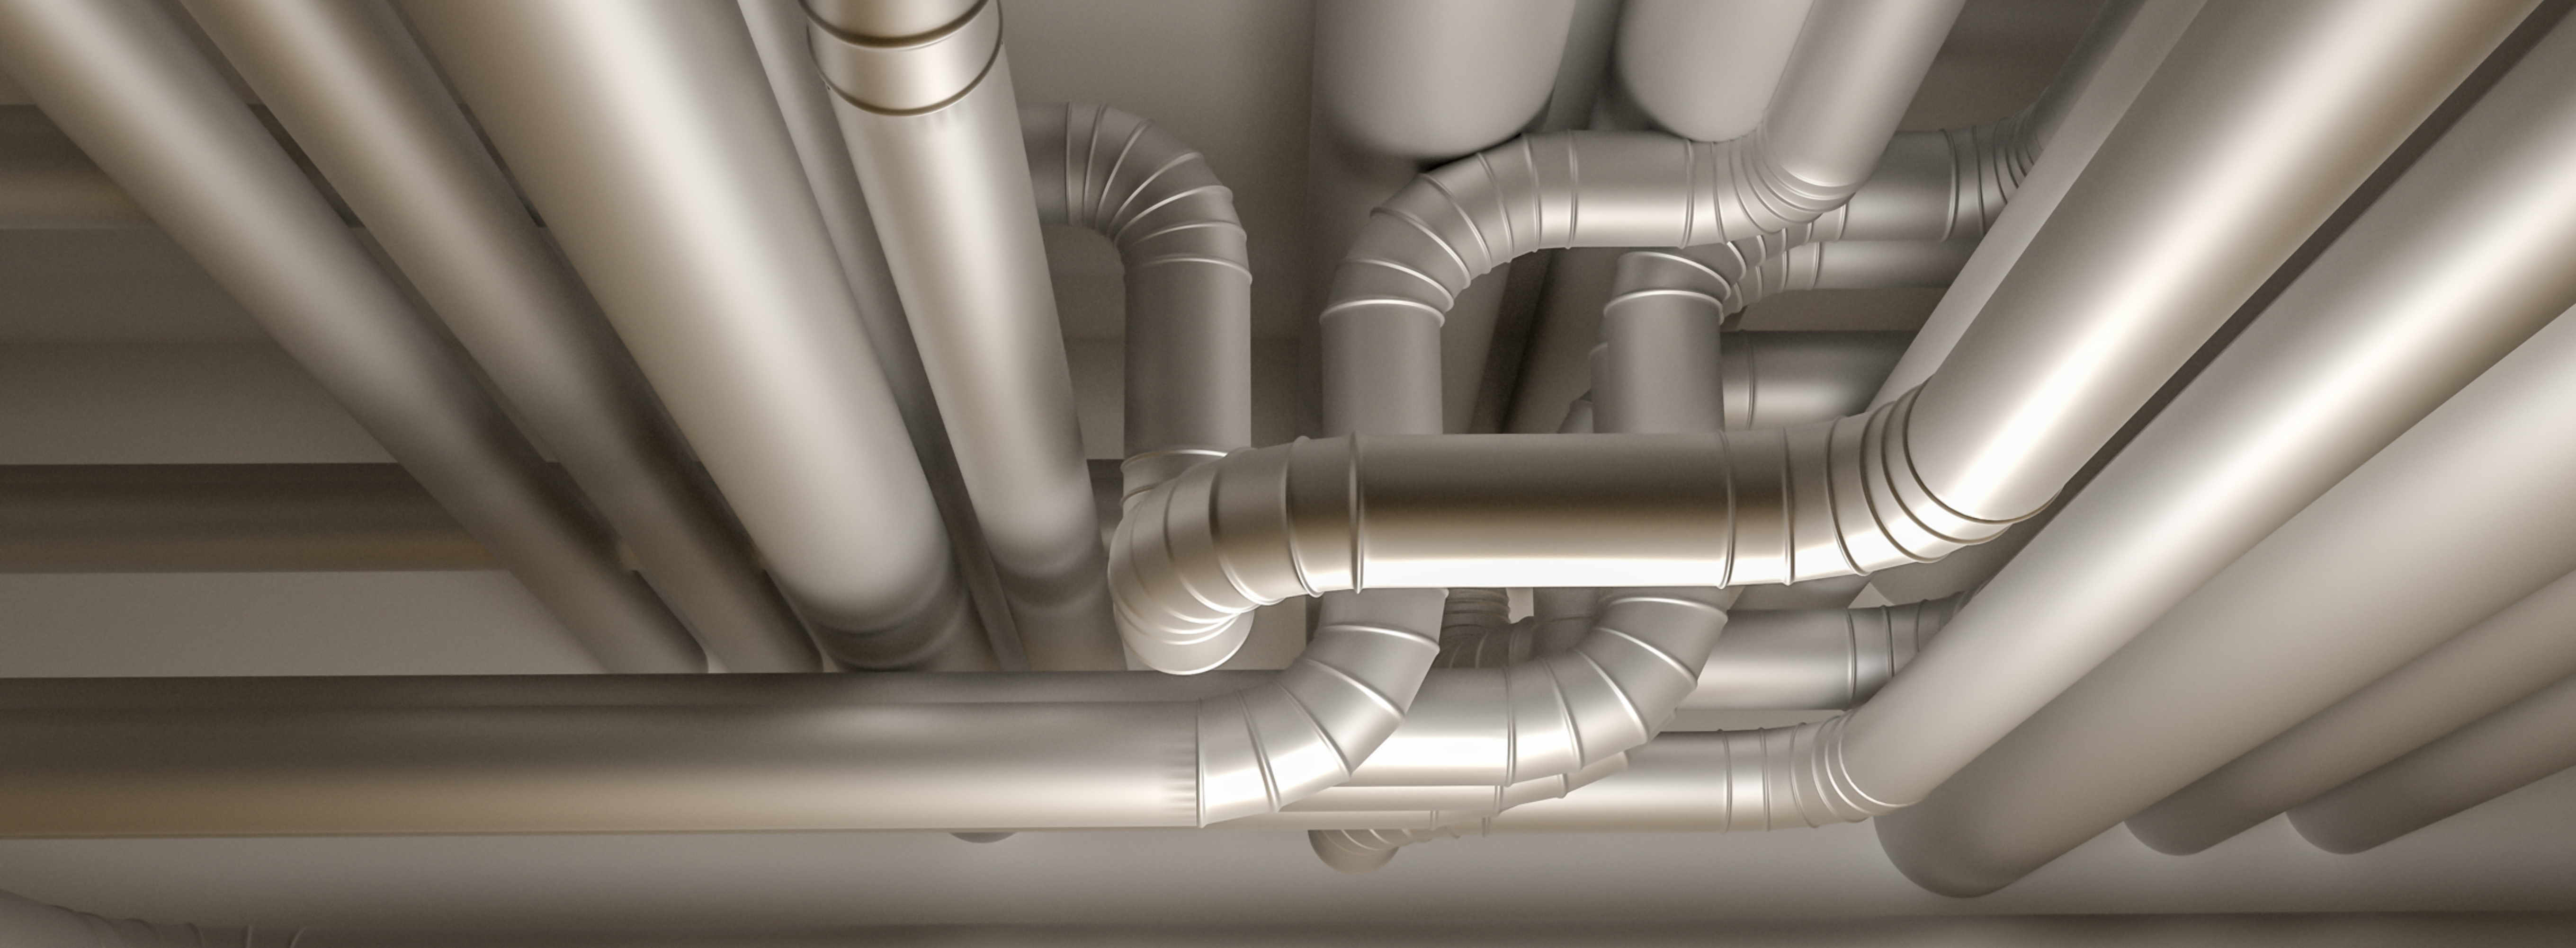
On the other hand, the traditional method of installing ductwork involves using standard pipe hangers to secure the duct to some type of channel, such as Unistrut, B-line, etc. The hardware required for this process is cumbersome, and the installation process is incredibly time consuming.
For example, for each connection to a piece of strut, you need two channel nuts, two threaded rods, four washers, and four nuts.
To assemble, you need to:
- Thread a couple of nuts onto the rod.
- Insert the channel nuts into the channel.
- Split the bottom half of the hanger below the ductwork.
- Insert the rod through the pipe hanger holes.
- Thread each rod through the pipe hanger holes.
- Align the rod on each side of the duct.
- Place the top half of the hanger on the duct and feed the rod through each hole.
- Thread the nuts onto the rods, adjusting all four nuts to make sure the ducting is secure.
- Tighten the threaded rod into the channel nuts and tighten all four nuts in place.

Nine steps! Why waste time and money when there's an easier way?